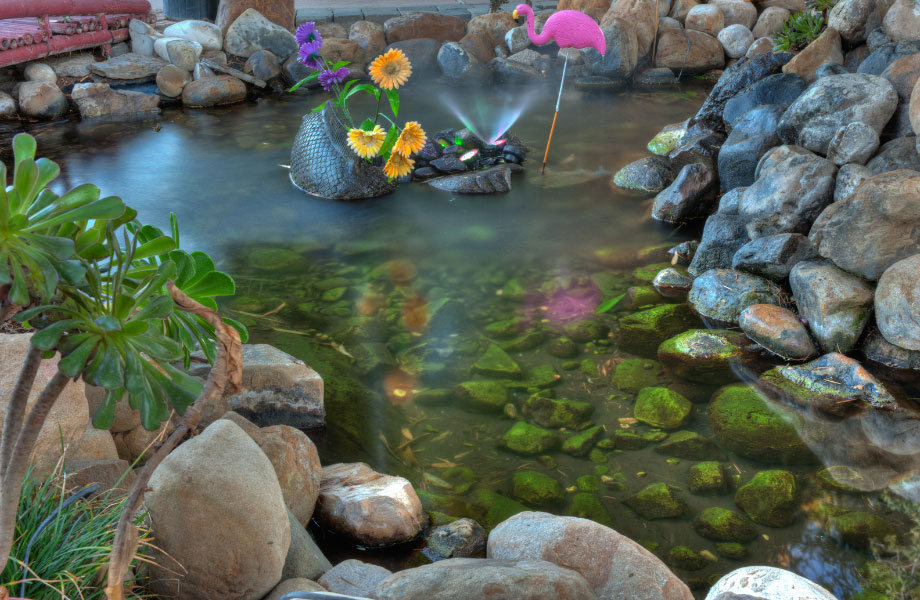
Wondering how to make a water feature? We’ve pulled together everything you need to know to build a stunning water feature with beautiful garden rocks.
No matter the size of your outdoor space, you can DIY a stunning water feature with beautiful garden rocks. This is a great project, especially if you prefer a smaller water feature to a whole pond. And by the end of a weekend, you can be sipping drinks with family and friends to a relaxing background of gently trickling water.
Why make a rock water feature?
There are so many reasons to DIY a water feature in your outdoor space! The number one reason (we think!) is that they look great. A well-designed water feature creates an aesthetic focal point for your home and a place to gather with family and friends. The sound and sight of water flowing over natural stone is calming and soothing.
How to Make a Water Feature
Select Your Location
To make an arresting rock water feature, you will need to decide on your location. Find a place that suits you and your lifestyle. It should be level and accessible. And you’ll need to make sure there aren’t any pipes or anything else hiding under ground level. Then you’re ready to gather your supplies.
Gather Your Supplies
Here’s what you’ll need:
1. Spade.
Naturally you’ll need one that’s the right size and shape to tackle your ground and dig a hole to the right depth.
2. Container to ‘house’ your water feature.
Measure your container and dig your hole to the required depth and width.
3. Block(s) to create a void.
A void space in your water feature is essential to create water volume and hold the water in place. It also provides a hidden ‘shelf’ for your rock water feature. The void will be hidden below water level (and beneath your ‘fill’ rocks).
You can DIY a void using standard Adri blocks. You will need to drill through the block, so a masonry bit for your drill and protective gear are essential.
4. Pump with hose.
If you use a solar-powered pump with its own solar panel, you won’t need an electrician to install the pump. The hose will run up through the void and into your feature rocks. Take care with choosing a pump and hose, so you can control the volume of water coming through. A gentle flow creates minimal splash, which is good for water retention within your feature.
5. Mesh.
This creates a ‘shelf’ for the fill rocks to sit on and hides the pump and void blocks.
6. Feature rocks (and a drill with appropriate bit).
We have a great range of granite in our large rocks range, to form your water feature. Depending on the size and look you are after, you’ll only need a few. It’s best to come onsite if you can, as the size and shapes can vary.
Note that it’s important that your water feature rocks are hard-wearing and non-porous, so they don’t discolour over time. This is why sandstone is a good choice for a surrounding rock feature, but not for the fountain itself.
7. Decorative ‘fill’ rocks.
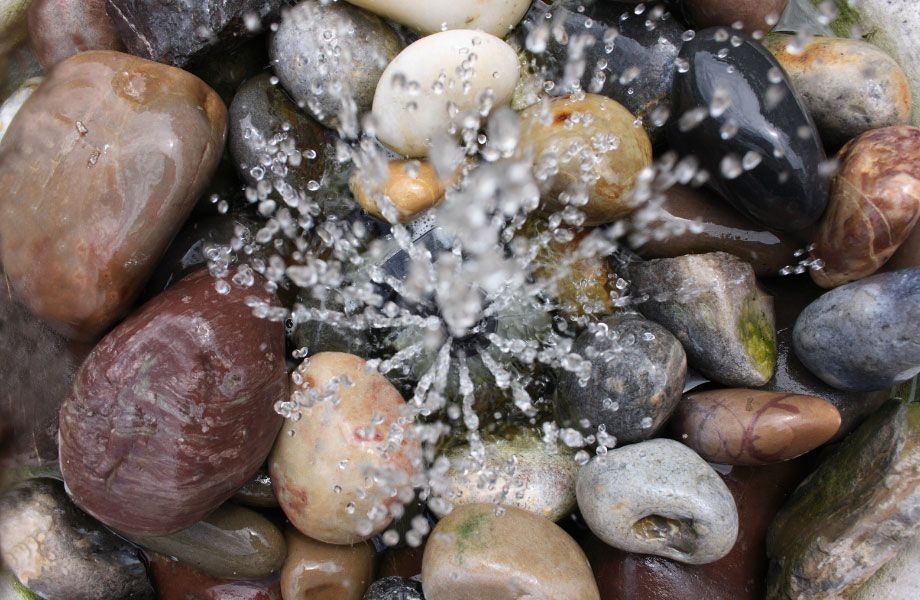
These rocks are decorative and sit around the water feature itself. Pool rock is a great choice. Their combination of brown, grey and terracotta give a natural look to suit any space.
8. Water.
Water from the garden hose is the perfect choice.
9. Safety and extra gear.
As always, be safety conscious as you work. You’ll need safety glasses and earmuffs to wear while drilling, as well as a level, measuring tape, marker and builder’s plastic to protect your work surface. Make sure you have the appropriate drill bits and know-how to drill through your void blocks and feature rocks.
Steps make a water feature
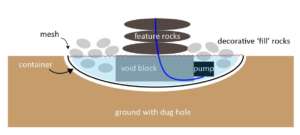
Our diagram shows you the basic structure for your water feature. Here’s how to build it:
1. Dig hole in the ground
As mentioned above, check that your chosen water feature location is free from anything hidden under the ground, such as pipes.
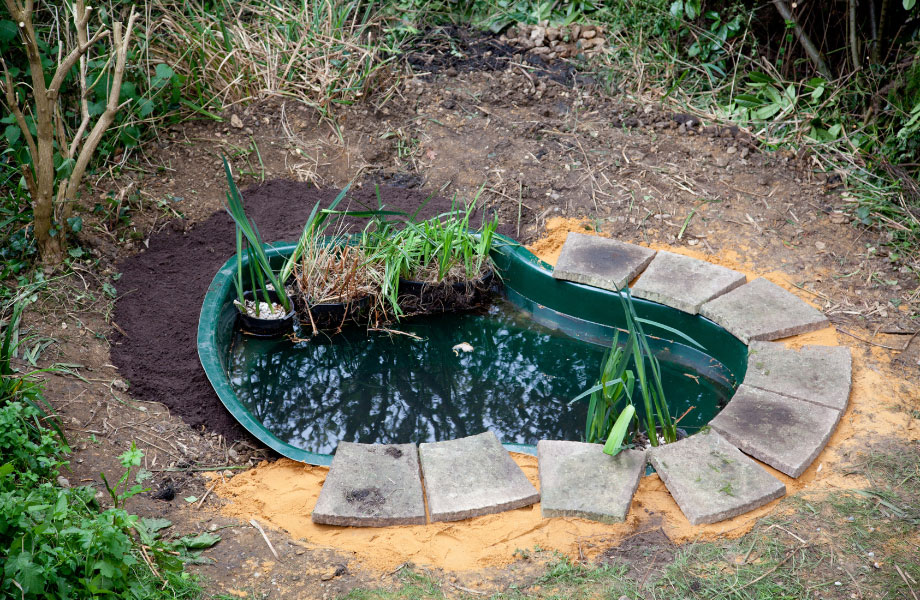
Dig the hole to accommodate your plastic container. Roughly level the bases and fill it in with 30-40mm of bedding sand. Tamp it down. Put the container in the hole and check the level, horizontally and vertically. Back fill the hole until the rim of the container sits at ground level.
2. Container
A container suited to the hole is ideal, as it will fit snugly in the space and is unlikely to ever tear.
3. Feature rocks (and a drill with appropriate bit)
As we mentioned above, we have a great range of large rocks to choose from. Granite will be the best choice as it’s hard-wearing and non-porous.
Once you’ve chosen your feature rocks, you will need to drill through them to run the pump hose. Repeat these steps for however many rocks you would like the hose to run through:
- Protect your work surface with builder’s plastic.
- Sit your feature rock on top.
- Put on your safety glasses and ear muffs.
- Measure and mark where you want the hose to run through.
- Drill through, taking care to use the appropriate drill bit and that you know how to drill through hard rock.
4. Void blocks
Follow the same process to drill through your void block(s).
Once your void block(s) are ready, gently place them inside the container. The block(s) will sit under the feature rocks, below the water level, so it’s probably best to centre them in the container.
5. Add the pump with hose
The hose will run up through the void blocks and into the rocks. Carefully place your solar-power pump next to the void block(s) and run the hose through the drilled hole and up through the feature rock holes. Follow the manufacturer’s instructions for locating the solar-panel.
Of course, if you are choosing to install an electrical pump, you will need to engage a qualified electrician to install the pump.
6. Mesh
Before laying your mesh in place, place any decorative fill rocks around the void block(s) and pump. This is particularly important if you have small children in your home or who regularly visit.
7. Decorative ‘fill’ rocks
Use pool rock or another decorative fill rock which is both beautiful and robust.
8.Water
Fill the feature with water from the garden hose to the top of the container. Make sure the pump is submerged. Once the water is in place, you’ll have to keep an eye on it, and perhaps top it up whenever you’re watering the garden. You’ll lose water through:
- Evaporation.
- Splashing from the water feature.
- Any surrounding plants.
- Your pet dog, if they like to drink from the feature!
Once all your hard work is done, it’s time to sit back and relax by your stunning water feature.
Now that you’ve learned how to make a water feature, come on in and look through our range of large rocks, pool rock and decorative bulk pebble. You can choose the rocks that will create the perfect water feature for your space. And keep an eye on our product info page and how-to, for more DIY projects. And as always, get in touch if we can help you with anything to do with your garden and backyard. We’d love to help you out.


