How to create an easy garden pond this weekend
A garden pond adds something special to your outdoor space. It’s beautiful, serene and a fantastic way to create a focal point in your garden. Plus, it can provide a habitat for local wildlife – frogs, birds, even water dragons. The best part about it – you can build one this weekend.
How to create an easy (but beautiful!) garden pond this weekend
Your garden pond can be as small and sweet or as large and lush as you like. Obviously the bigger it is, and the more elements it has, the longer it will take to create. It’s important to remember that for safety reasons your pond can’t be deeper than 30cm (or you’ll need to install a fence as well). You can also fill the pond with pebbles or rocks if you find you’ve gone a little deeper than you anticipated.
But no matter how large or little you aim the basic steps are the same.
Step 1: Gather Your Supplies
The first step is to gather all your supplies. You’ll need:
- Gloves
- Hose
- Shovel
- Spirit level
- Pavers
- Pond shell/liner
- Marking spray paint
- Washed sand
- Rocks/pebbles
Step 2: Prep Your Location
Locate the spot where you’d like to create your garden pond. Make sure there’s enough space both for the pond itself and some planting around it. Remove any turf or plants that are already there, and level the area.
Once the spot is level, lay your pond out onto the ground, in the position you want. Use your marking spray paint to trace around the pond outline, and to position out your garden beds if you like.
Step 3: Excavate
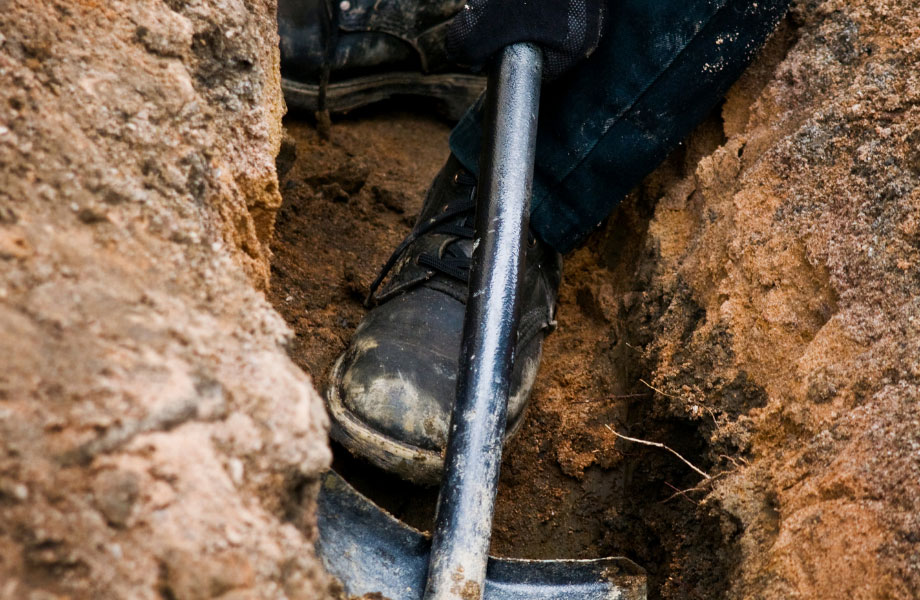
The next step is to grab that shovel and start digging! You’ll want to excavate to the depth of the pond but leave the pond lip slightly above the soil’s edge to prevent run-off from polluting the pond. Pop the pond in to ensure its level and fits. (You’ll likely have to do this several times, excavating in between.)
Once you’ve finished that – you’re not done yet! Dig down another 30mm to 40mm so you can add your base layer.
Step 4: Top Up with Sand
Sand is your next step. Once you’ve finished excavating, add a sand layer to 30-40mm and stamp it down tightly. Then you can pop your pond on top. Again, ensure it’s level. If not, level it out with the addition or removal of sand.
At this stage you’ll also want to fill any space around the garden pond with the sand, tamping it down as you go.
Step 5: Secure (and Beautify) with Rocks
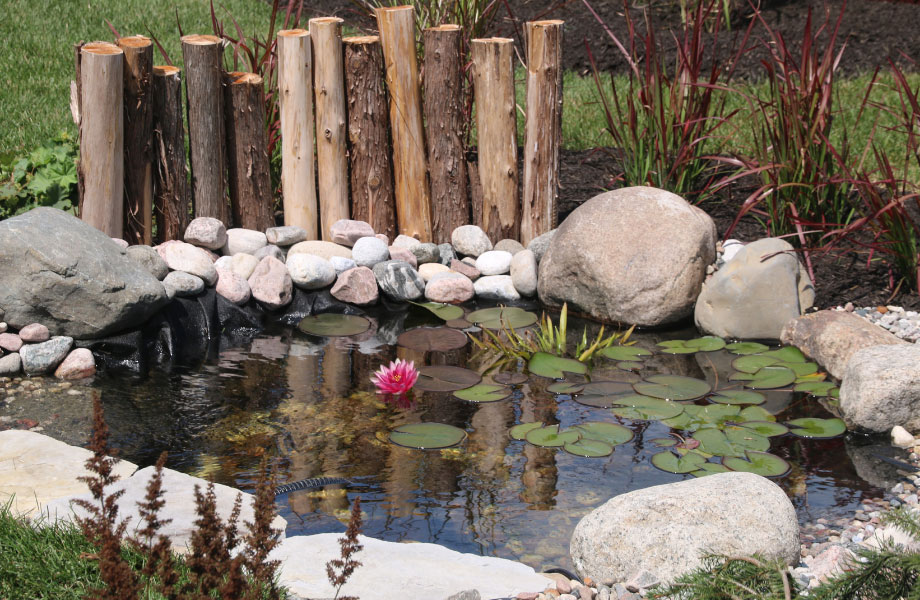
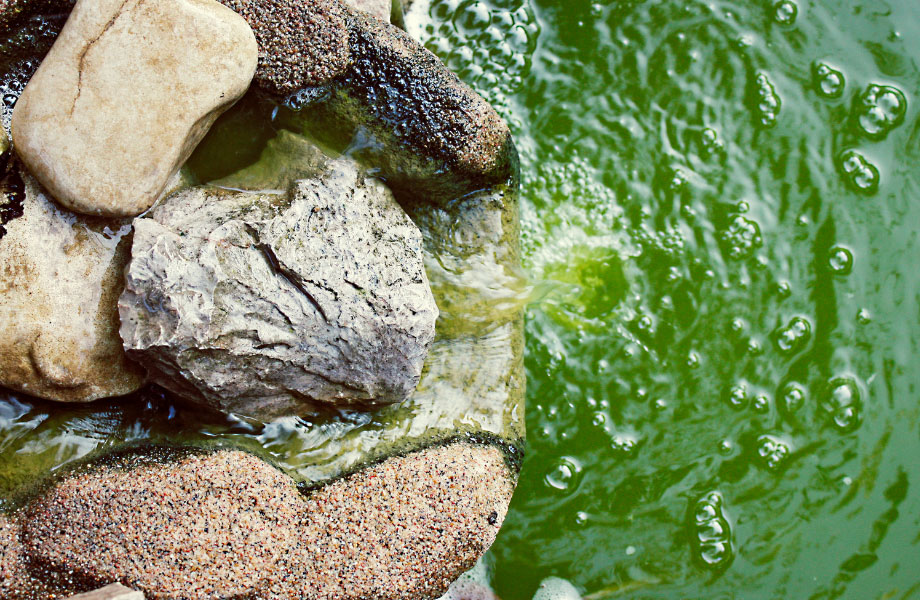
Now you’ll want to secure and cover the pond’s edge with rocks. Capping stones work great for this as they have a relatively flat top and bottom and are a good size. Position them around the edge of your garden pond, ensuring they cover it fully. Allow a few to overhang into the pond or climb into the adjoining garden beds a bit for a more natural look. Scatter some beautiful warm, earth-toned pond rocks around to break up the uniformity and give something more for the eye to take in.
Step 6: Gravel + Pebbles
Once you’ve secured the backyard pond, it’s time to fill it. There are often mixed messages about whether or not to use gravel and pebbles in your pond. But we think it’s really an important part of your pond structure. After all, the more gravel, the more surface area. The more surface area, the more bacteria. And (hear us out!), that’s a good thing! It’s those little bacteria that process all the muck and grime that will (inevitably) get into your pond. And that means… less cleaning for you!
So, pop in a layer of river gravel (which is nice to look at as well as effective), and scatter a few larger pebbles or rocks over top. This gives plenty of space for little creatures to have homes or hide. And plenty of room for good bacteria to grow. PLUS, it looks great!
Step 7: Add water!
Now all you have left to do is fill your pond with water! And that’s it. Your garden pond is complete!
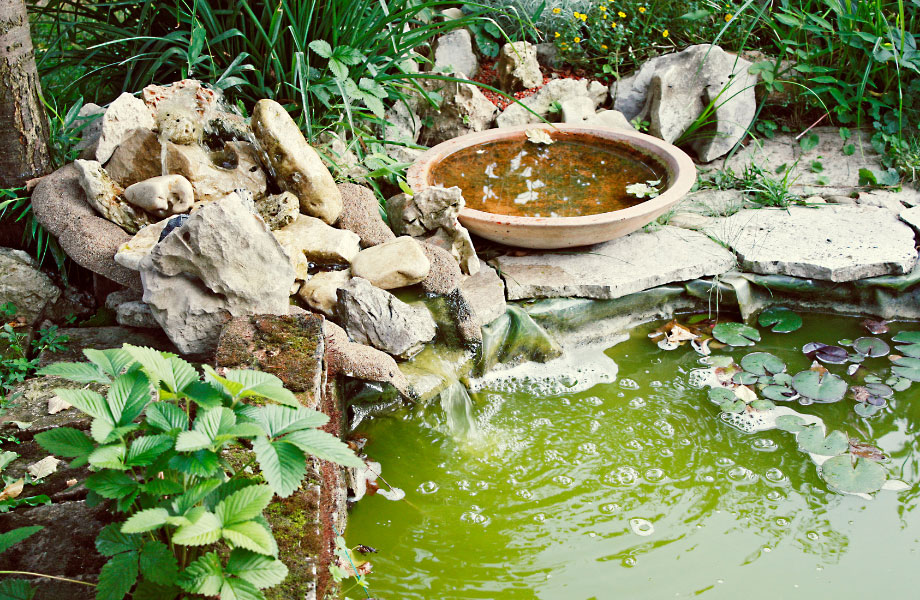
Of course, you can add so much more if you like. Using an irrigation tube, a pump and a flow reducer you can easily build in a system to create a little waterfall and even add plants and fish. Or grab a couple of ducks for your backyard menagerie (warning: they are messy!) who will adore a pond to splash in. Whatever you decide, it’s time to enjoy your new water feature!
Once you’ve got your backyard pool up and running, what’s next in the garden? We’ve got heaps of good ideas over on our product info page. We’ve got tips on mulching, how to top dress your lawn or what kinds of rocks to use in your garden projects (if you’re not an expert already!). Keep tabs on our how to page to find helpful blog posts like this and more. And if there’s anything else, remember you can contact the expert team at Rock n Soil any time!


