How to Lay Stepping Stones
Stepping stones are a great way to create the home aesthetic that you’re after. They add colour and texture to the landscape around your home. They help you define the spaces in your garden by creating the little nooks and special spots that turn a yard into a secret oasis. And, more practically, they also direct foot traffic around your property keeping people out of garden beds and on set paths. They’re also a more cost-effective option than paving a larger area.
Now that you know what a great option they are, the next step is simply figuring out how to lay stepping stones for the best results. Here are all the tips you need.
How to Lay Stepping Stones
Step 1: Choose Your Products
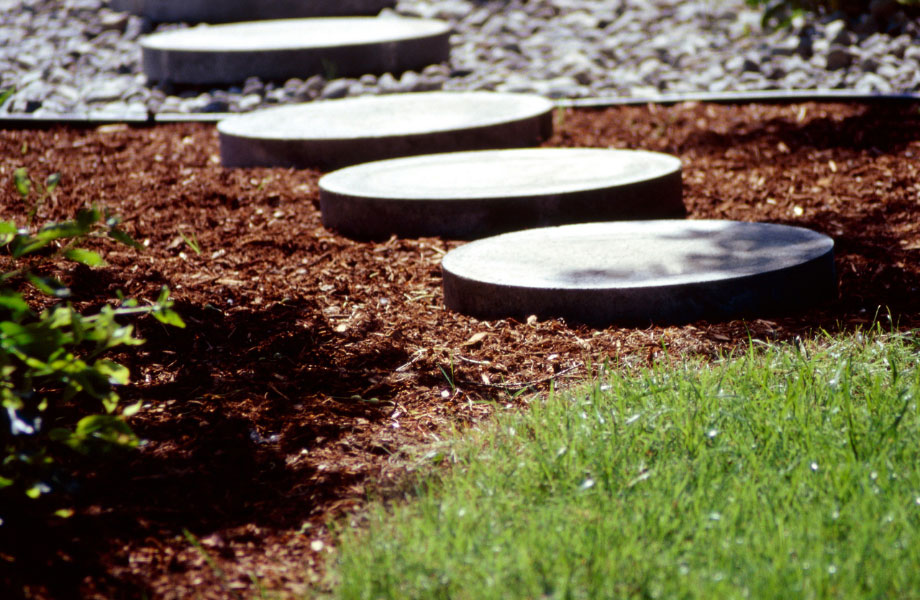
Your first step in laying stepping stones is choosing your products. There are so many great practical and decorative options depending on the look you are trying to create to complement your home. You might want to go for a mixed natural stepping stone or sandstone organic paver which tend to create a more organic path or feature. Or, if you prefer a more modern look, you might want to go for beautiful Adbri square pavers or Esplanade pavers.
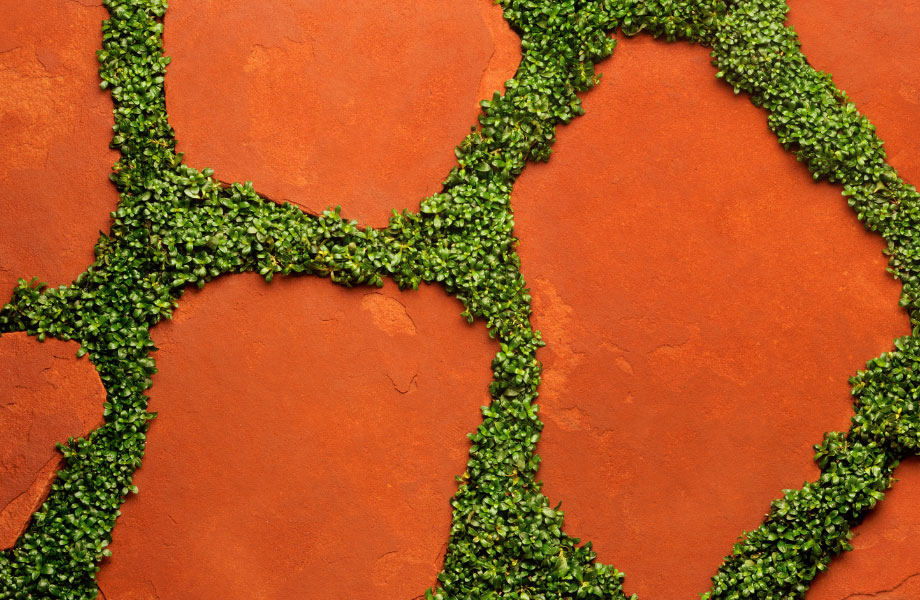
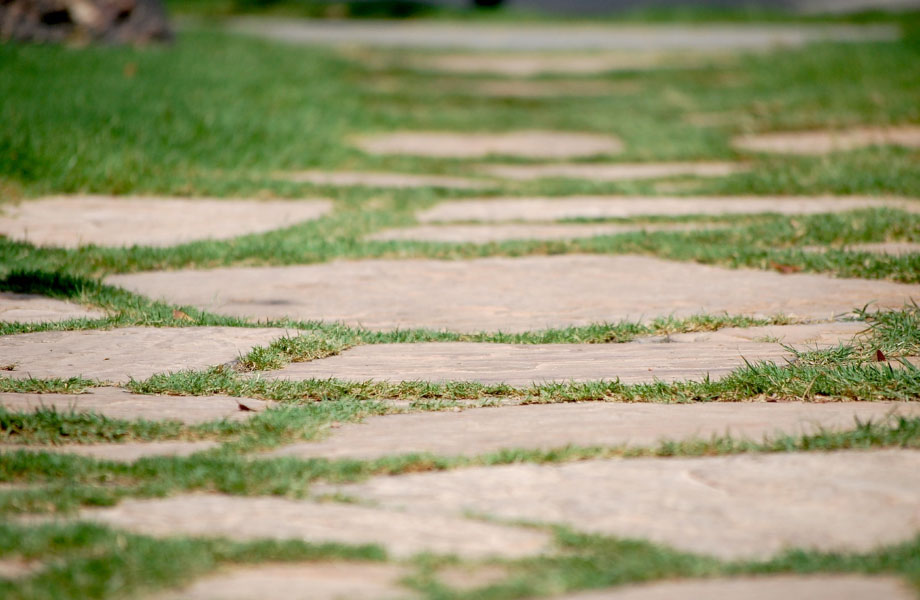
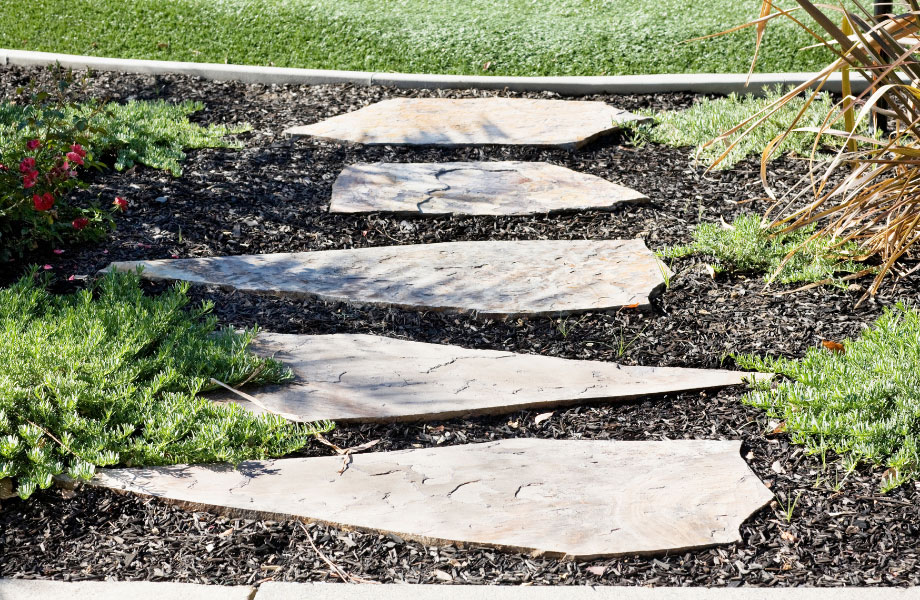
When laying a path with stepping stones or pavers, you may also need to choose something to fill the gaps between the stones. You could plant ground cover plants or use a pebble mix, to fill the area.
Step 2: Gather Your Equipment
Once you’ve chosen your stepping stones and pebble mix, you will need to gather your equipment. We suggest:
- Wheelbarrow
- Mortar Mix
- Measuring tape, string line + posts
- Spirit level
- Safety gear – goggles, mask, gloves
- Spade + rubber mallet
- Spray paint
- Sponge
Step 3: Prepare Your Area
We’ve covered laying pavers in a large area before. But when it comes to how to lay stepping stones, preparing your area remains just as vital. To avoid weeds growing over your path, use a weed killer at least two weeks before you plan to create your path. Then clear and level your area. If you are planning on digging each stone into its own existing area, you’ll only need to clear those spots. But if you’re planning to lay all the stones and then fill in around them, you’ll need to clear the entire length of the path at this stage.
Step 4: Dry Lay Your Stones
The next step is to dry lay your stones so you can work out placement. Place each stone where you would like it to go and then test it for comfort and useability. The best measurement is a comfortable stride length. Lay your first and last stone where you want them to be – an equal distance from, for example, your house and the front gate – and then lay each stone in between.
Step 5: Measure and Create a String Line
Once your stepping stones are roughly in place, take your measurements. You want each stone to be equally spaced between each other and from the path’s outer edges as well as from any defining areas. This might be the house wall or the garden or lawn edge (whatever you are laying the stones between).
Then use a rubber mallet to hammer in a post at the start and end of your stepping stone path. Run a string line between them and push your dry laid stones right up against the string line. This way you can make sure that you’re accurately aligning the stepping stones.
Step 6: Mark Corners or Outer Edges
Use spray paint to carefully mark (on the ground) the four corners (or outer edges) of your stepping stones. This will help you know where to dig or place mortar, when you remove the stones to dig. Be careful not to spray on top of the stones.
Step 7: Time to Dig
Put your stepping stones to the side and shallow dig the area for each stone. Dig out the depth of the stone plus a little extra for the mortar.
Step 8: Mix Mortar
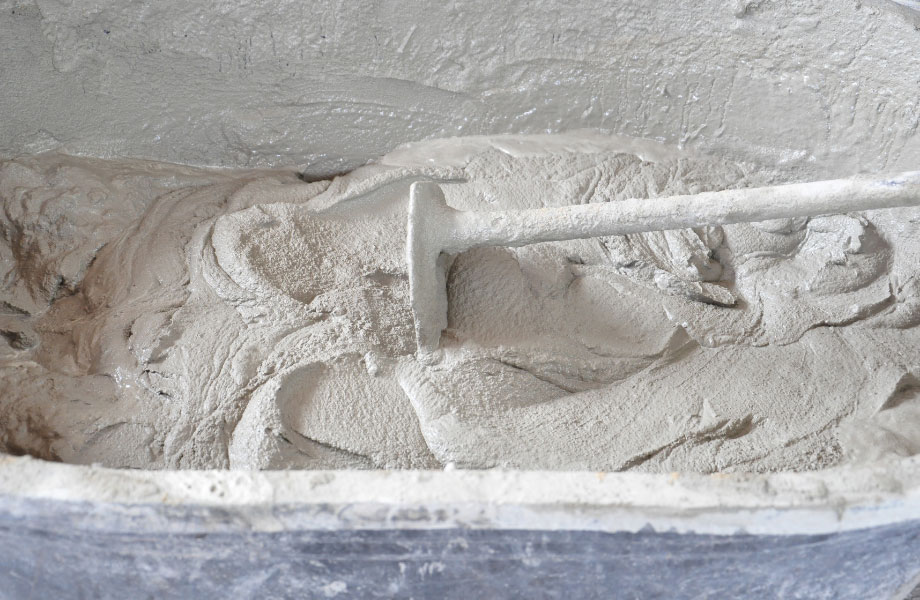
Put on your safety gear and follow the directions to create your mortar mix. The correct consistency should coat your spade with mortar, which will stay in place when you flip your spade over.
Step 9: Fill Hole with Mortar and Place Stone
Step 9 of how to lay stepping stones is actually three steps.
- Fill hole with mortar – just enough so the stone sits level with the ground.
- Place stone on top, right next to the string line. Use the rubber mallet and spirit level to tap it into place while checking it is level in both directions. Once the stone is level, spread a little mortar up the sides of the stone to ‘lock’ it in place.
- If your stepping stones have any mortar on top of them, sponge it off now while the mortar is wet. It’s much easier to clean them off at this point, than later when the mortar has dried.
Note: do not fill all the holes with mortar at once or you risk it drying in place before you can place the stones.
Step 10: Drying, Setting and Finishing
Leave your stepping stones to dry and set for 24 hours before backfilling, spreading pebbles or walking on them.
- If you’re backfilling, use the stones you removed to dig the holes, to fill all around each stone.
- If you’re laying new pebbles, do it to a depth of about 100 mm to ensure you don’t need a weed mat.
- Once your stones have dried and you have filled in the space between and around the stones, hose away the dust and grit.
Bonus Step: Admire Your Work!
You’ve completed your stunning new pathway. Now all you have left to do is sit back and admire your work!
Stepping stones can create a new look for your home, or simply direct foot traffic around it. And if you have any other questions about how to lay stepping stones you can contact the expert team at Rock’n’Soil at any time! As always, keep an eye on our product info page and how to page to find helpful blog posts like this and more.


