Our Guide to Laying Pavers
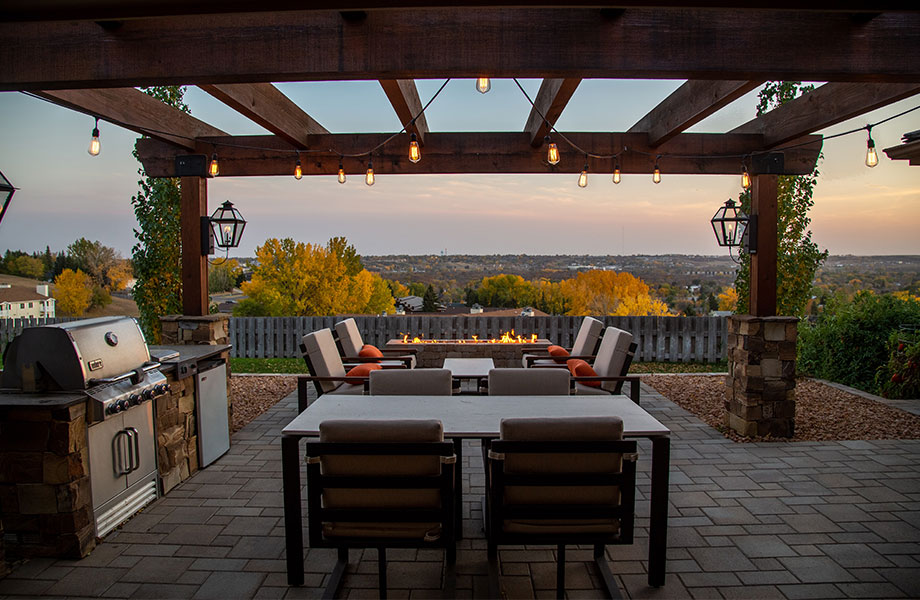
When it comes to giving your garden a refresh one of the most impactful changes you can make is creating an outdoor entertainment space by laying down some pavers. Creating a patio area in your backyard can act as an extension to your home and add dimension and shape to your outdoor space. Adding a paved area is also a great way to get back out into nature and is perfect for summer entertaining with friends. Another reason you might be considering laying pavers is to create a new driveway or pathway for ease of access to your home. If you are planning on laying a patio or doing some driveway paving, we have an easy DIY guide that gives you an idea of the steps you’ll need to take to make your paving project a success.
Measuring Up Your Area
The first step after taking the plunge and deciding to lay down pavers is to measure up your area. This is important to do first so you get a better idea of what pavers and styles work within your space; especially if there is little room for movement in your space. This decision can influence the style of paver you end up choosing so it is important to get this done before looking at colours and finishes. These measurements will also help you determine how many pavers you might need to cut to achieve your goal.
Thinking Of How Your Pavers Will Be Used
Another very important planning step is to try to future proof your paver space by taking into account your area and lifestyle. Regarding lifestyle, you will need to consider how much traffic the area gets; how much weight it can take (especially important for driveways) and how exposed it will be to the elements (e.g. will it get wet and become a hazard for kids). Regarding the area, the slope and style of the land will determine some properties you will need to look out for when choosing your style of paver. For example, slip resistance might be important for wet areas, thicker pavers for areas that get waterlogged, pavers with high-quality pigmentation for areas exposed to full sun or pavers made for slopes that promote water drainage.
Choosing Your Pavers Style
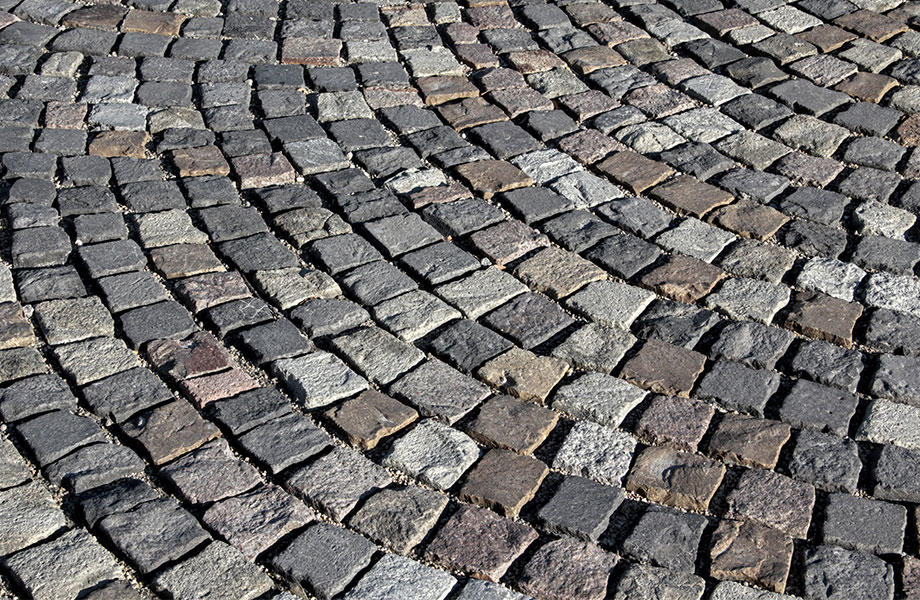
Once these two planning stages are complete it is time to get inspired and find your perfect paver. You should be on the look out for a paver that is functional as well as stylish. To decide on what paver would work best, you might want to think about what style you are going for. If looking to recreate an English-style garden, a cobblestone paver would bring out that country manor look. For a more modern look, maybe a square charcoal paver or a crazy pave style will bring out a bit of that contemporary flare. This stage is also where you can decide on paver sizing and test out a few different variations. A smaller paver might give a more cosy and bespoke vibe while large format pavers can often create the optical illusion of making your pathways look larger.
Once you have chosen your paver, you’ll need to decide on your laying pattern. Choose something that is aesthetically pleasing to you and something that fits your area well, with little need for cutting your pavers.
Installing Your Pavers
If installing a patio or driveway yourself it’s important to consider your technique for prepping your planned paving area. To avoid having weeds grow in between your pavers, it’s a good idea to use a weed killer to kill off all your weeds at least two weeks before you plan to lay them. You can choose to excavate the area, digging to the depth of your pavers and then lay directly onto the space or if you want a more solid finish, you can choose to compact a gravel base with a layer of sand over the top and lay onto this. Laying pavers on sand will lock them into place while allowing for proper drainage. Once your area is cleared, follow these steps:
- Making sure it is even: To ensure you get an even finish, it is important to set up a string line so you have a guide when completing your install.
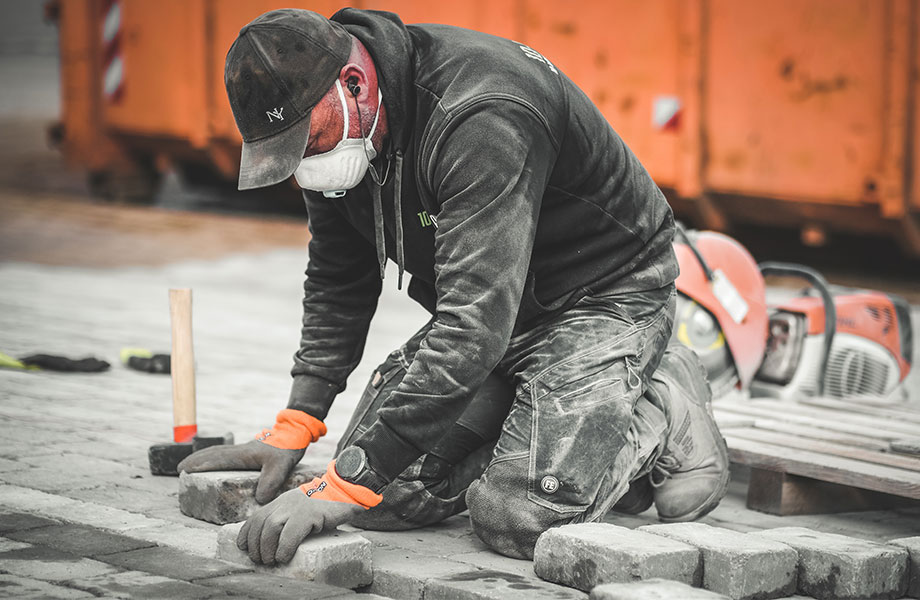
- Build your rows: Choose a corner and start building out your chosen pattern. Each time you lay down a paver and are satisfied with its position, tap down on the paver with a rubber mallet. This will secure the paver in place, giving it a better grip on the base. Take care in making sure your first row of pavers are straight and even, and make sure your second row has a space of 2-3mm between the pavers.
- If you need to cut, cut: If your pavers don’t fix exactly into your area, you will need to cut some to make them fit. You can get this done professionally, or use an angle grinder or masonry saw to cut them into your desired shape.
- Add your edge restraints: To keep your paving area secure and avoid paver movement, it is important to add an edge restraint once you have completed your paving pattern. There are a number of different materials you can use for this including wood, metal, plastic, and concrete.
- Set your pavers: Now it is time to set your pavers using a Pave Set. Just note that this will keep them secure and is especially important for driveways and areas with high foot traffic. You don’t need to do this for every paving job but it is a good idea if you value a sturdy base. Make sure you check whether your area is suitable for using a Pave Set before applying as there are a few variables to consider before applying.
Finishing Your Pavers
While it is not essential that you seal your pavers, it is always a good idea and will make your hard work last longer. It will also reduce maintenance in the long run. To seal your pavers you will need to choose between using a wet look sealer or a penetrating sealer. Wet look sealer will give your paver a shining, wet look while a penetrating sealer will provide your pavers with a water repelling coat. It is important to note that a wet look sealer will change the colour of your paver, so it is a good idea to test it on a loose paver or paver offcut first to see if you like the effect. The texture of your pavers will also change once these sealers have been applied so it is important to consider the weather exposure in your area to avoid them becoming a slipping hazard.
Once you have chosen your sealer, apply with it to your dry pavers with a lambs wool applicator or pump spray.
Contact us
If pavers had a resume then this would be it! But if you’re still wanting more than we totally understand. That’s what our product info page is for! Perhaps you are hanging out to know what soil to use for your next garden project? Keep tabs on our how to page to find helpful blog posts like this and more. And if there’s anything else, remember you can contact the expert team at Rock n Soil any time!


