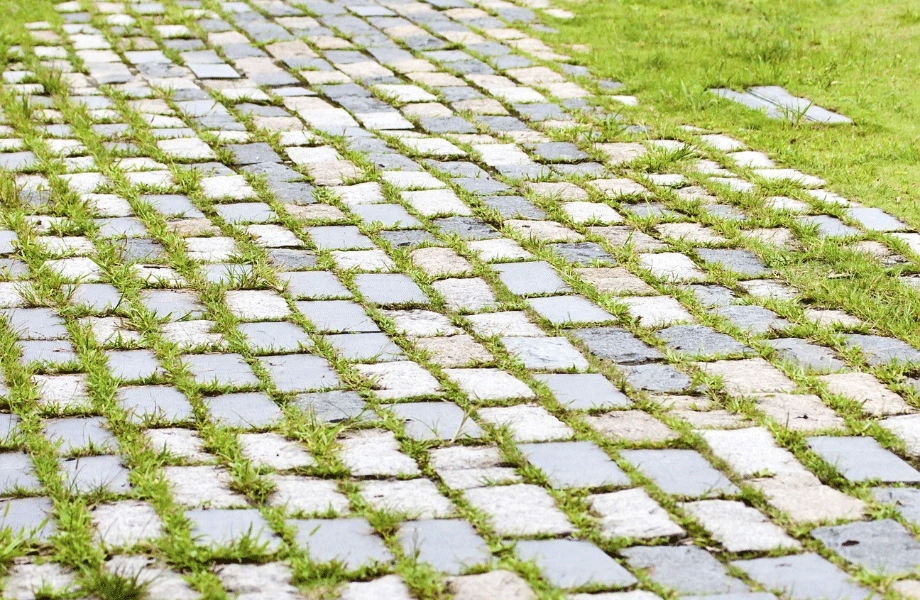
Wondering how to lay pavers in your lawn? Check out our step-by-step guide below.
You’ve put in the time and effort and have beautifully designed garden. Now it’s time to install a pathway to ensure people can cross your lawn without trampling your turf.
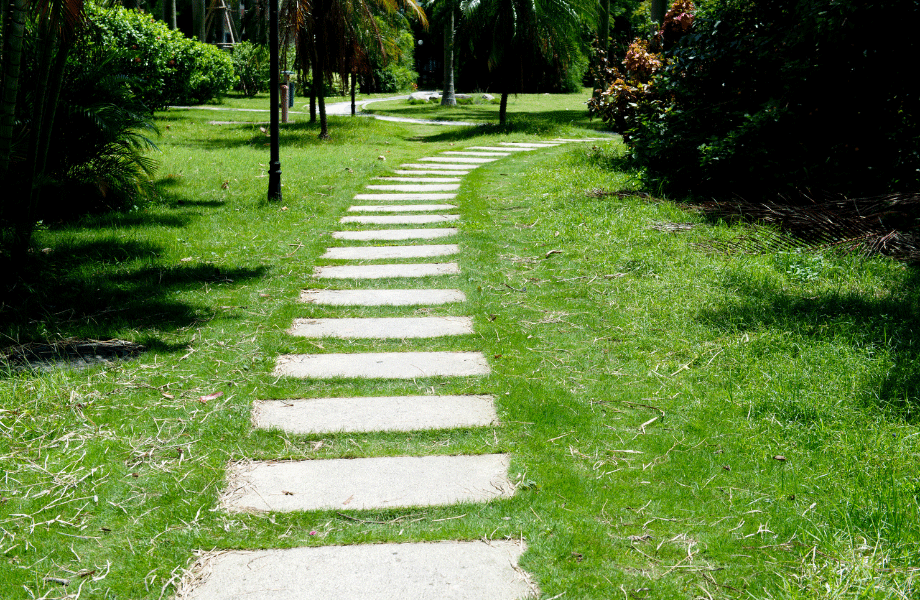
Whether you want to create a visually appealing entrance leading to the front door or a walkway through a meandering backyard. Or maybe you simply want an obvious path so the kids stop smashing your beautiful turf. Whatever the purpose, pavers are an easy and attractive option.
And learning how to lay pavers is pretty simple if you follow our step-by-step guide below. In fact, this is a DIY project you could smash out in a weekend.
How to lay pavers in your lawn
Step 1: Determine the pavers you want
Your first step is to consider the pavers you want. Different pavers give you different functionality and different looks. And both are important.
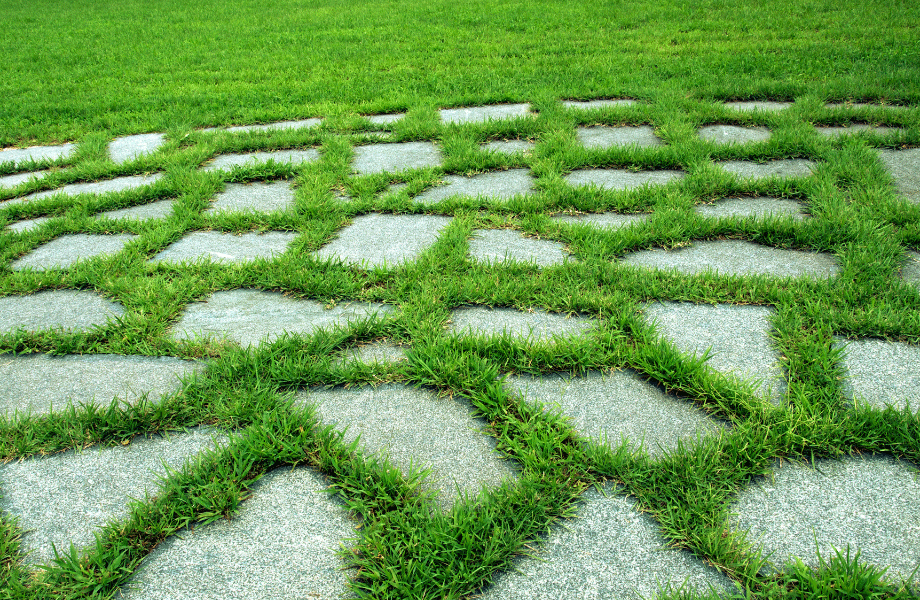
Here at Rock n Soil, we stock an extensive range of outdoor pavers from sandstone and natural cobblestone through to Havenbrick. Check out the many different shapes and sizes on offer, as well as the various features available, such as durable, salt-resistant and slip-resistant.
If you want to bring a bit of personality to your garden, make sure you take a peek at our fun range of stepping stones, from basalt-flamed organic stepping stones through to kitsch footprint and leaf shapes.
Step 2. Plan the layout
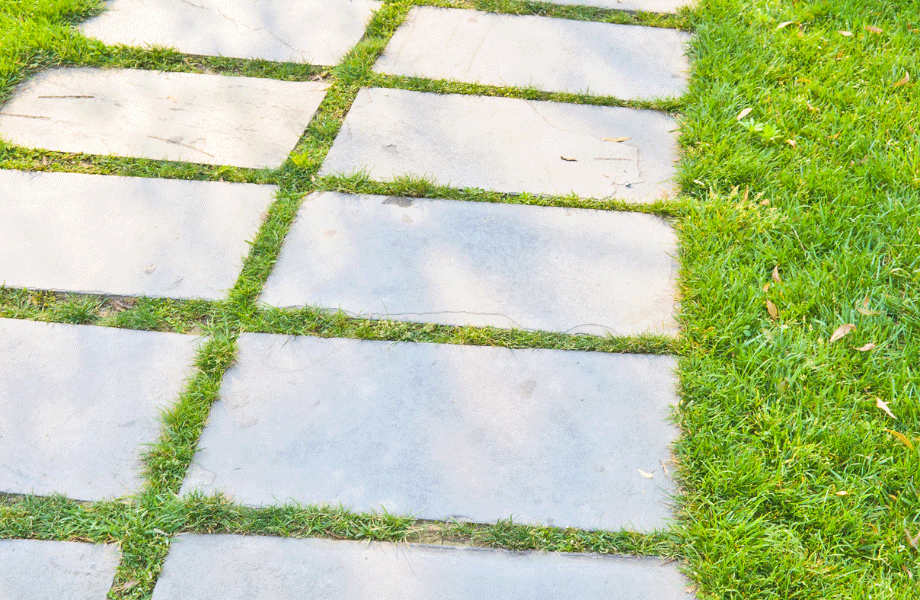
Your second step is to decide where the pavers will sit and in what formation. Meandering, or straight? Narrow or wide? With edging or no edging? You’ll want to ensure that the layout looks visually appealing. And that there is enough space between each paver for a natural walking gait. Keep in mind the people who will also be using the pathway, such as young kids with shorter legs or any older people who may have trouble walking.
Use stakes and string to mark the area, or pieces of cardboard or wood if that’s all you have available. Once you’re happy with the layout and have determined the space you’ll be paving, you can then calculate how many pavers you will need to order.
Step 3. Prep the area
It’s time to prep the area. You have several options with prepping the area before you lay pavers. One method is to measure around the pavers and cut out the existing grass down to the roots. Alternatively, cut pieces of thick plastic and lay them over the spot where each paver will sit, weighing them down with rocks. After about four weeks in hot weather (cheers, Brisbane summer), this should have heated the soil enough to kill off any seeds, roots, weeds and pests in a process known as ‘soil sterilisation’. You can then remove the dead grass from the area.
Whichever method of grass removal you choose, next you will need to tamp down the bare soil with a tamping tool or soil compactor so it’s compact and level. You will also want to make sure that your paving slopes slightly away from your home for drainage.
Step 4. Lay the base
Once the area is prepped it’s time to lay the base. To do this you will add a layer of paver sand, tamping it down so it’s compact and level. You will need to check the height of your pavers and decide how you want them to sit in your lawn. It is common to have your stepping stones sitting just above the height of the surrounding grass.
Step 5. Lay the pavers
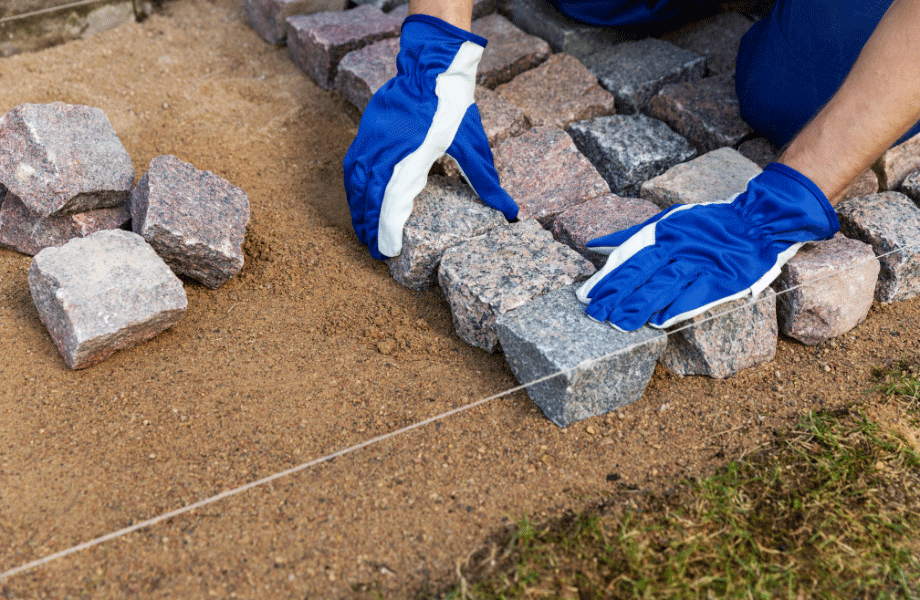
Next up, it’s time to lay your chosen pavers. Start at a corner and lay one at a time, giving each a tap with a rubber mallet to ‘set’ it in the sand. Use extra sand between the pavers to fill in any bare patches.
Step 6. Admire your work
Nice job! Congratulate yourself on another DIY project done and dusted with a happy stroll down the path. And don’t forget to check out our How-To Section to get some inspiration for your next DIY job…
Don’t forget to ask for help if needed
There is no job too small or question too minor for the team here at Rock n Soil. If you have a question about how to lay pavers in lawn, we are pretty sure we’ll have the answer! Don’t hazard a guess – consult the experts if you need any extra guidance.
Now that you’ve got a good idea on how to lay pavers in your lawn, make sure you visit our product info page for all the goodies you need to get started. Once you’ve ticked off this job, read up on how to keep your pavers looking like brand-new. And if there’s anything else, contact the expert team at Rock n Soil any time!


