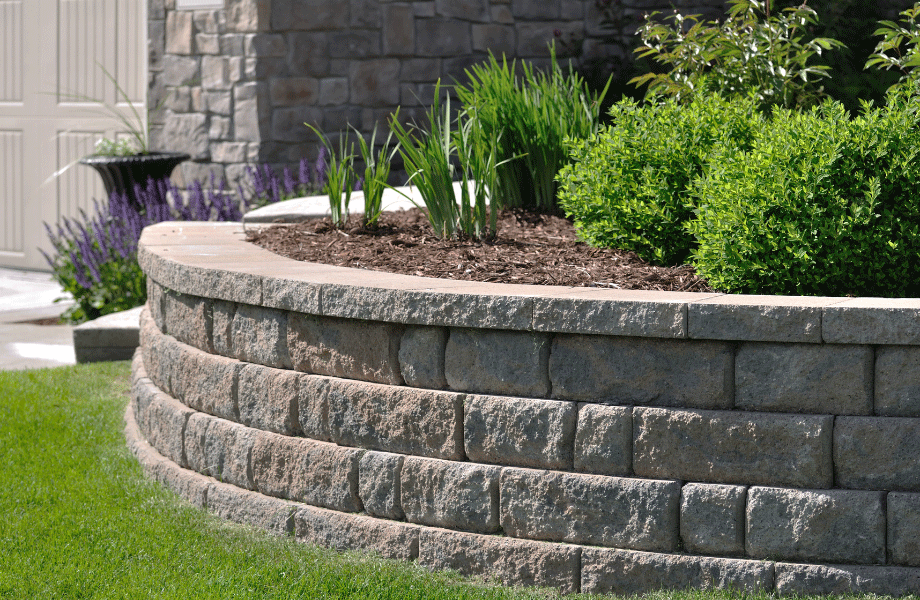
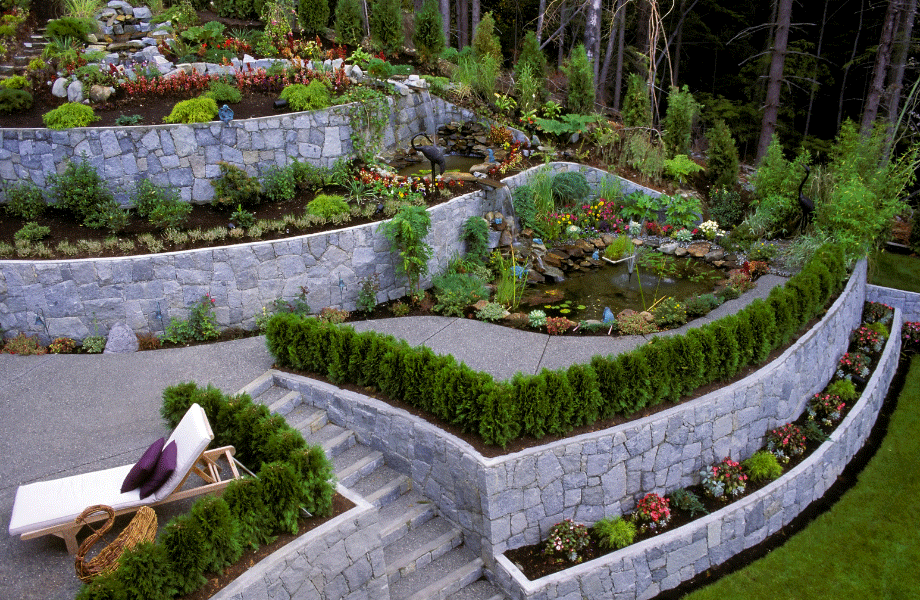
Retaining walls are the foundation of a garden. They provide structure, delineate areas and even create those unique ‘secret’ spaces that are discoverable in a really wonderful garden.
But creating a beautiful, curved retaining wall can seem like a big challenge. From the design to the execution, it’s important to get it right.
So if you’re wondering how to create a curved retaining wall, here are the steps our Rock ‘N’ Soil experts suggest.
How to Build a Curved Retaining Wall
Step 1: Planning
The first (and possibly most important step) when you’re building any retaining wall is to do your planning. This means checking with your local council to see if there are any regulations that will impact your work. And if you’re planning on moving a lot of earth, or drastically changing the configuration of your garden, you’ll also want to consult with an engineer.
Step 2: Design
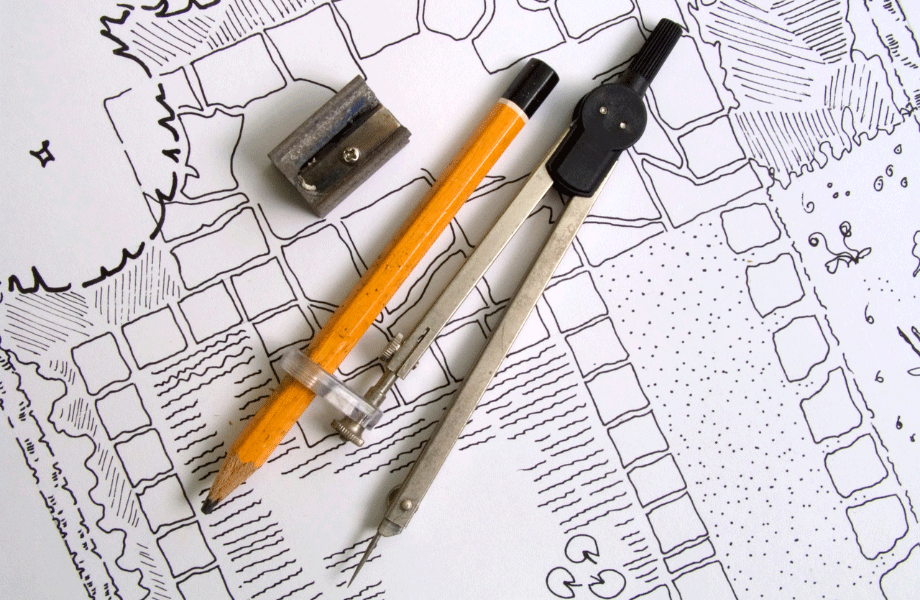
Before you begin you’ll also want to ensure that you have an accurate and well thought out design. This can be as simple as sketching the retaining wall on a piece of paper, using the length of the space, and the materials that you’ll need to achieve the look you’re after. This will then help you determine the amount of materials that you’ll need to buy.
Your retaining wall design must take into account the force of the earth that it’s holding back, which can be particularly strong when the ground is saturated with water. Plan to fill the space directly behind the retaining wall with a porous, drainage material like gravel or sand. You might even want to consider building in drain pipes to help release some of the pressure.
When it comes to how to build a curved retaining wall you also have to consider the coning effect. Curved walls have a greater setback. This means that as the wall is built, and it adopts it’s natural setback position, the space at the top becomes tighter. So you may need to have a larger radius on the base course in order to achieve your desired area at the top of the wall.
Step 3: Mark your course
Once you determine your design, you need to mark your first course. With a curved wall, this isn’t as straight forward as simply drawing a straight line. Instead, determine the point where your curve will start. From here measure straight back from the wall to the centre of the curve. Drive a stake in the ground to mark this point. Then attach a strong to the stake the length of the radius of your curve and rotate it around to mark the location of the base course.
This will give you a full circle of course. But you only need to mark out the length of the curve that is designated for your wall in the design.
Step 3: Your materials
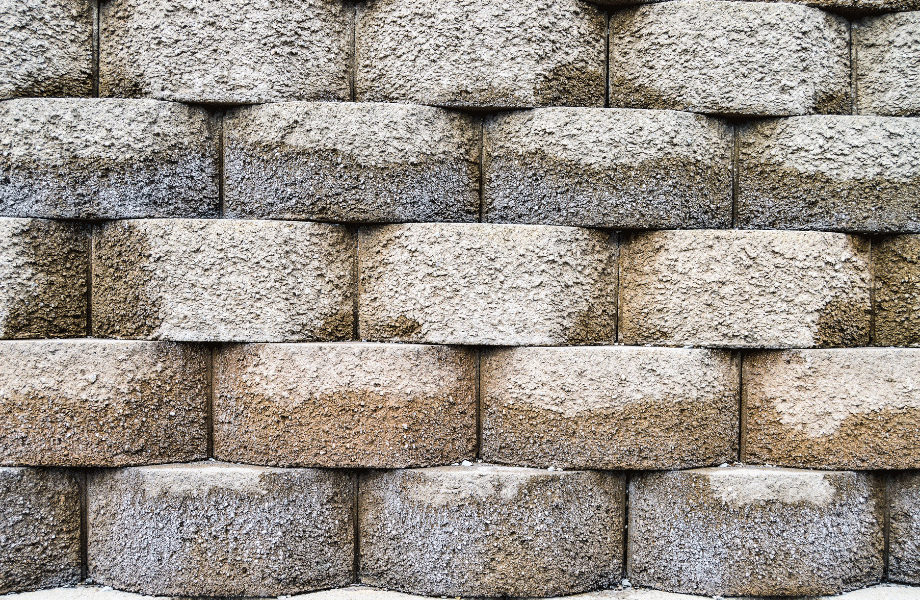
While you can create a curved retaining wall from timber (or even bricks or natural stones), we highly suggest using concrete blocks or retaining wall blocks. These allow you to create a beautiful, curved shape with the minimum of fuss. And the heavy blocks are designed to keep the earth at bay.
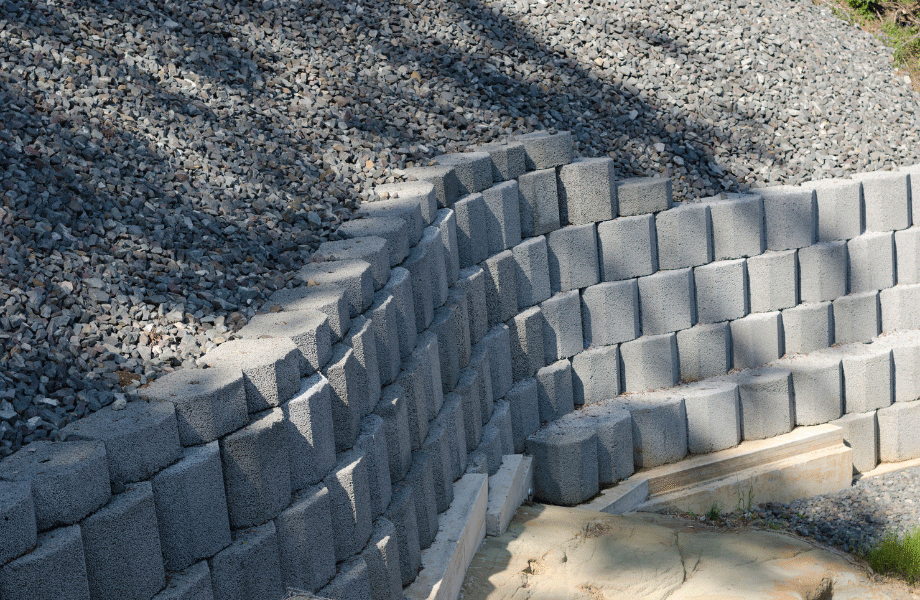
In addition, concrete retaining wall blocks are shaped in a way that creates a strong wall. When you stack them, they have a natural setback formation which causes the wall to angle back and improves its holding power.
Once you know the materials that you need, and have measured them out through your design, ensure you order them in time for your project. You don’t want to have set an entire weekend aside only to find that you don’t have what you need. At Rock ‘n’ Soil we can often provide same day delivery too – just get in touch!
Step 3: Construction
It’s time to start building!
First, level the ground.
Since you’ve already measured and laid out the position of your new retaining wall, you’re ready to start leveling the ground. Using a flat-blade shovel remove any excess soil, rocks or vegetation and level the area. In most cases this just needs to be a narrow, flat trench where you will be laying the first row of blocks. In others it could be a more major excavation project.
Second, lay down a porous base
A porous base will increase the stability of your retaining wall, help with drainage and keep the area level. It’s easy to do. Just spread a five centimetre layer of gravel or sand over the levelled area then use a piece of timber to smooth and even it out. If you’re creating a retaining wall that is more than four blocks high, you will need to compact the base with a hand tamper.
Third, begin setting your blocks
When it comes to how to build a curved retaining wall, it’s best to start from the centre and work left and right through the curve. So beginning at the centre, set your first block on the base layer. Press it firmly down, being careful not to push the base layer aside. Check the block is level side to side and front to back.
Complete the first level of blocks by laying the next adjoining block and ensuring it’s aligned and level. Aligning the blocks is very important. Any small differences will impact the upper layers, and could lead to major setbacks.
Fourth, set the remaining courses
Once the first level or course of blocks is laid, it’s time for you to set the remainder. Install the next row of blocks (and the ones that come after) using a running bond brickwork pattern. In this style, the seams of the adjoining levels are offset by one-half block.
This is an excellent choice for any retaining wall, but particularly a curved retaining wall. That’s because it’s stronger and more stable than the stack bond formation (vertically aligned seams). You will likely need to cut and fit half-width blocks for the end of the course, as well.
After finishing each course, check to ensure that it’s level. If you’re just building a fairly short retaining wall, you can use a carpenter’s level to check two or three blocks at a time. But for long walls, you should check levels by driving stakes at the end of each wall and using a string level to create a reference line as you install the courses of blocks.
Fifth, backfill
Once you’ve built your curved retaining wall to the correct height, carefully fill in the space behind the wall using your chosen sand or gravel. The wider the area, the better your wall will drain and the less force it will be subjected to.
When filling the space, take it slow adding a small amount at a time. This ensures the material has time to settle. You can use a rake or shovel to compact it as well.
If you’d like you can top the backfill off with topsoil so you can plant grass or plants along the wall too.
Sixth, enjoy your new space!
Now that we’ve answered all your questions about how to build a curved retaining wall, it’s time to get started! And once you’ve got your space built, you’ll be ready to take on loads of additional garden projects to beautify your space. You might want garden paths and or a DIY fire pit. Or you might want to lay new turf (and we’ve got you covered with how to guides and awesome turf options!).
Keep your eye on our how to and product info pages for more excellent tips and tricks. And get in touch with us at any time, to talk through all your backyard projects this summer.


