Paver Maintenance 101: Paver Care For a Freshly-Laid Look
Your driveway welcomes people to your home, and your outdoor space is an extension of your home. So of course you want it looking its best. But like anything, these spaces can start to look at little tired – including your pavers.
Pavers are often chosen for outdoor spaces. They’re a great, low maintenance option for driveways, as well as patio areas, curling paths and pool areas. But they’re also often exposed to the sun, rain and wind, as well as leaves, dust and dirt. And that’s’ not even considering food and drink spills (especially wine!), pool splashing and foot traffic.
But if your pavers are looking a little worse for the wear, you just need a bit of paver maintenance. Here are our top tips for paver care to keep them looking freshly laid.
Paver Maintenance 101: Paver Care for a Freshly-Laid Look
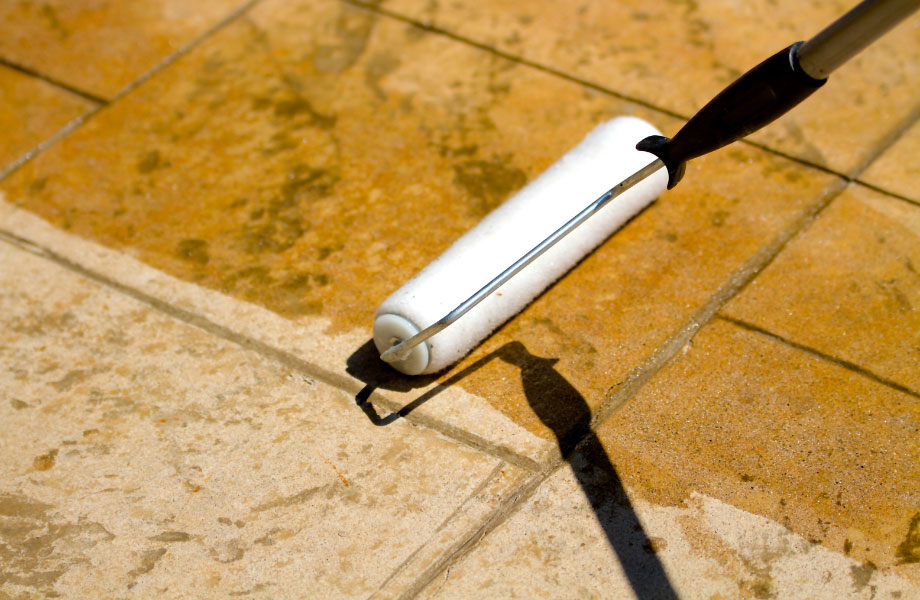
Seal freshly laid pavers immediately
Once your pavers have been laid, your very first step is to seal them. Sealing pavers forms a barrier between the paving stones and the elements, protecting them from dirt, dust, oil, food and mould. For wet paved areas such as pools, sealers will help to provide a non-slip surface as well, while protecting the pavers from chlorine and salt.
Whether your pavers are concrete, stone or brick, there is a commercial grade sealer specific to your needs. However, as with most things, sealers will wear off over time. How quickly depends on the amount of environmental exposure, normal wear and tear, the quality of the sealer and how well it has been applied. Reapplying sealer could be an annual or bi-annual routine paver maintenance activity.
For pavers that have long formed part of your home, it may be time to seal them as part of their regular paver care. Before sealing, it’s important that the pavers have been thoroughly cleaned.
Regular paver cleaning
Sweeping
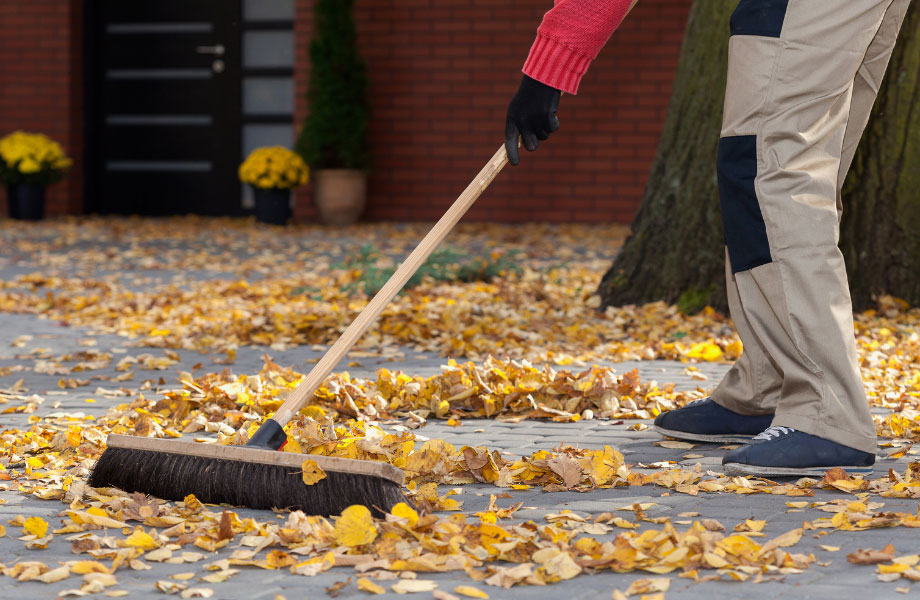
It’s a good idea to be in the habit of regularly sweeping and hosing your pavers. This removes dirt and debris and prevents them from being ground into the paving stones.
A stiff, outdoor broom is the best kind to use. Take care to avoid sweeping away paving sand from in between the pavers, or from sweeping dirt into the paving joints. If you have any food, drink or grease and oil spills, you may need to step it up a notch with some targeted paver maintenance.
Weeding
Weeds will form wherever they have a base to grow in, so they are bound to show their unwelcome face between your pavers. Carefully remove them by pulling them out at the roots. For stubborn weeds, you may need an environmentally friendly product that targets weeds between paving stones. This will attack your weeds while maintaining the integrity of your paving stones.
Washing
Once your pavers are clear from weeds, it’s time to clean. One of the best and most accessible cleaners is your handy dishwashing detergent. Check that it doesn’t warn against using on limestone or marble – if it does, look for a specific stone washing product instead.
Fill a bucket with water and squeeze the detergent in, and mix them together. Pour the soapy water onto the pavers and scrub with a stiff outdoor brush. Wash off all the loosened dirt with clean water. Repeat until you’re happy that all the dirt and debris have been washed away. It’s best to do this whole process with bucketed water rather than the hose, as the hose pressure could be too strong for the paving stones’ joints.
Make sure your pavers are thoroughly rinsed with clean water, and you have left no soapy residue behind – it will lie in wait until the next time it rains, and form a slippery, dangerous surface.
Targeted paver maintenance
Food, drink, grease and oil
For fatty food and drink spills, you’ll need to target that area for specific attention, particularly if stains have already formed. Hot water and dishwashing detergent are still your best go-to, along with a stiff bristled brush.
If you need to remove grease or oil leakage from a vehicle, cover the affected area with talcum powder or kitty litter. Leave in place for 24 hours to absorb any excess goop, then sweep away with a stiff broom.
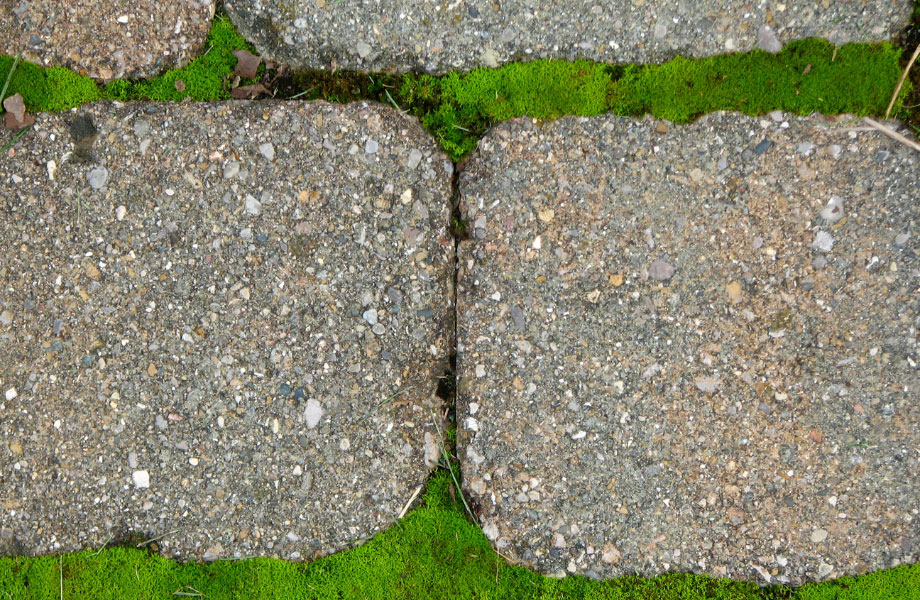
Moss and mould
If your paved areas have standing water or are in a particularly damp aspect, you may notice moss or mould forming. The best way to remove this is through high-pressure washing. Take care:
- Not to blast along the grout or join lines, so as not to remove paving sand.
- To keep the hose at a good distance from the pavers, so you don’t impact the integrity of the pavers.
- To wear solid shoes and keep the pressure water well away from your feet.
Refresh the Seal
Once you’ve completed your paver maintenance, it’s time to seal the deal (or reseal the deal). This will deepen the colour of the pavers, give them a nice shine, and make them look brand new. They’re freshly protected from environmental and human factors and will look freshly laid for the next year or two.
Contact Us
We hope this helped with your paver maintenance and paver care routine. If you have a new area to lay pavers, we have an extensive range for your every paving need. Keep tabs on our how to page to find helpful blog posts like this and more. And if there’s anything else, remember you can contact the expert team at Rock n Soil any time!


