


5 Steps to Prep for Your DIY Driveway Paving
If your driveway needs a spruce up, DIY driveway paving is easier than you think. Here are the 5 steps you should take to prepare.
When it comes to maintaining or upgrading your home, it’s easy to forget about the driveway. But you shouldn’t. After all, your driveway is the welcome mat to your home. And how it looks sets the tone for your entire home and garden.
A well-paved driveway looks great, sure, but it’s also much easier to maintain. It has a more even surface, is straightforward to clean and won’t crack over time. Plus, it’s easy to access and use, provides safe parking for your vehicles and is a great surface for kids to safely ride their bikes, scooters or shoot some baskets.
If your driveway needs a bit of a spruce up, DIY driveway paving is easier than you think. Here are our five steps to get you on your way to paving a driveway you’ll be proud of.

5 Steps to Prep for DIY Driveway Paving
Step 1: Understand your goals
Driveway paving isn’t a ‘wing-it’ kind of job. So before getting started, it’s important to give it plenty of thought and careful planning to ensure you understand your goals.
Here are a few things to consider:
- What are the dimensions of the paving area?
- How will you use your driveway?
- What do you want your driveway to look like?
- What is your budget?
Step 2: Measure your space
Your first step is to measure your space. Once you understand what you’re looking at you’ll be better able to know what type and style of paver will work best. You’ll be able to work out if you want to use different styles in different areas (either for aesthetic reasons or because of different uses). And understanding your paving dimensions will help you work out how many pavers you’ll need for your DIY driveway paving.
Step 3: Define your driveway use
How your driveway will be used is perhaps your single most important consideration. Here are a few things to think about:
- How much traffic will drive across it?
- How much weight does it need to bear?
- Will your driveway be in full sun or in shade?
- Will your driveway get a lot of rain?
- How will your kids, or other members of the family use it?
These considerations can directly impact your choice of paver. An Interpave paver, for example, looks great and is a good choice for driveways that will bear heavy loads or will be subject to harsh weather. Even better, they’re skid-resistant which makes them safer for both cars and pedestrians.
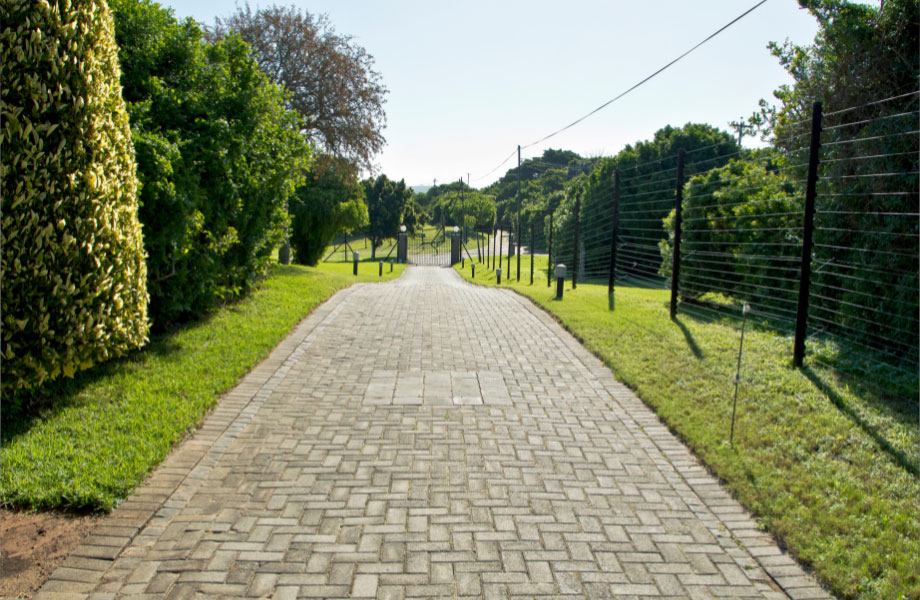
Step 4: Determine appearance
Once you know your driveway dimensions and how you’ll be using your driveway, it’s time to start thinking about what you want your drive to look like. Functionality still matters, so we always recommend pavers that are both functional and stylish. But aesthetics are hugely important.
Consider what your garden currently looks like. Your new pavers may need to complement an existing pathway. Or they may need to meld with your existing garden edging. On the other hand, this could be your chance to make a bold aesthetic change.
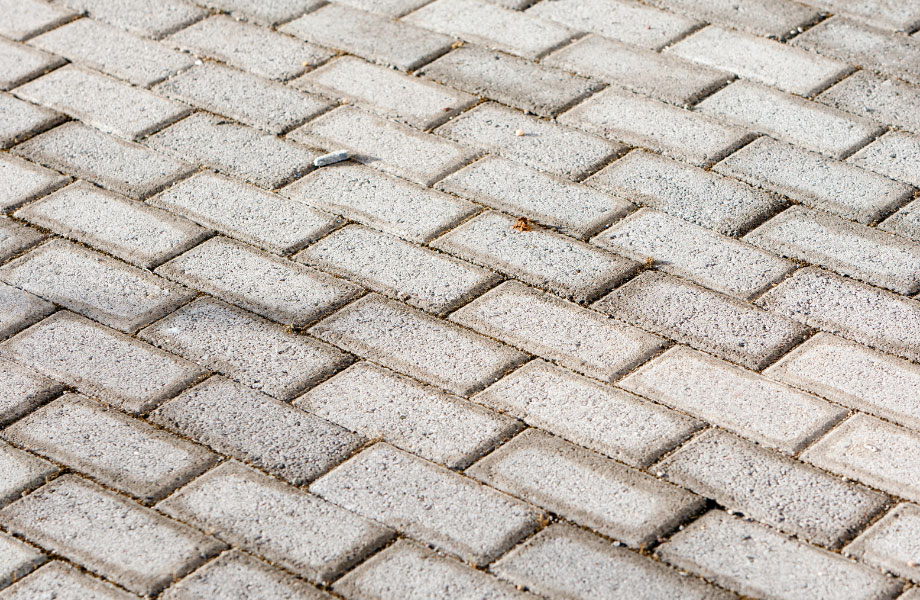
Before you make a final decision, test out a few pavers (or run your ideas past our expert team!). There are plenty of types, colours and textures to choose from, such as brick pavers, turfstone, square Havenpaver pavers and concrete pavers. Each of them have their own look, and can be configured in their own ways.
Your laying pattern may vary, depending on whether your driveway is steep, sloping, or flat. A particular formation that suits your paving area and will require minimal paver cutting is ideal.

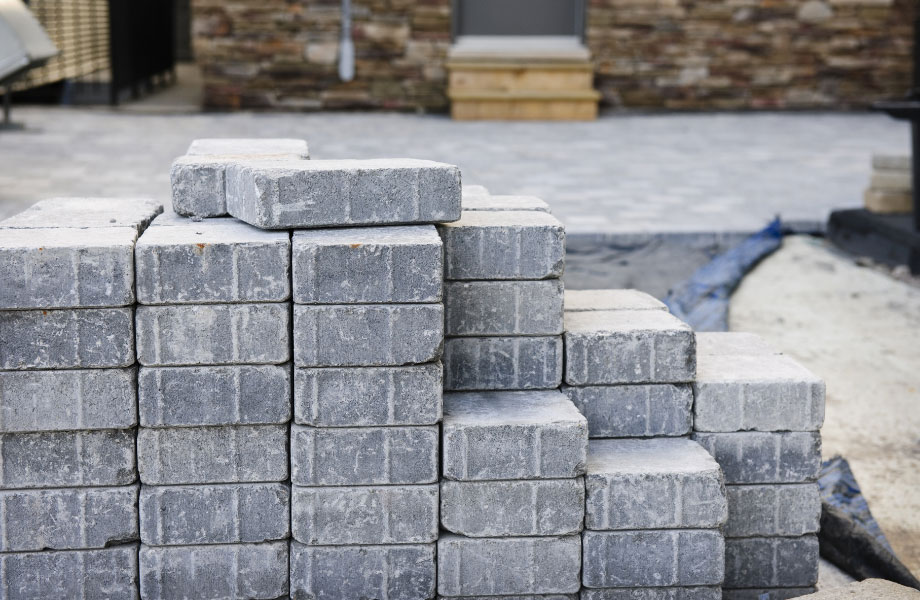
Step 5: Paver quantities
Once you know your paved driveway dimensions and have chosen your paver, you just need to figure out how many you will need. Get in touch with us to walk you through the calculation. We recommend adding an extra 5% to the total, so you have additional pavers for any cuts or breakages that could happen while paving or with normal wear and tear over the years.
BONUS: Tools and safety
Always check your tools and make sure you have everything on hand before you start. We recommend:
- Eye and ear protection if you’re cutting pavers or using a compactor.
- Protect your back by bending your knees when lifting heavy pavers.
- Protect your feet and hands – boots and gloves are essential.
- Sun protection isn’t only for kids – wear long sleeves, a good hat, sunnies and SPF50+.
- Stay hydrated. Paving driveways is hot work, so keep your fluids up while you work.

What next?
Once you’ve worked your way through all the planning and you’re ready to roll, what’s next? We’ve written Our Guide to Laying Pavers to walk you through the next important steps. It won’t be long until you’re DIY driveway paving leads to a well-paved and good looking finished driveway.
If driveway paving is a DIY project you’ve always wanted to tackle, contact the expert team at Rock n Soil any time! We’re happy to talk you through your particular driveway paving needs and what your paver options are. Take a look through our product info page for more info, and keep tabs on our how to page to find helpful blog posts like this and more.